
Dyson DC17 Owners Manual: A Comprehensive Guide
Welcome! This detailed manual assists with installation, operation, and maintenance of your Dyson DC17. It ensures optimal performance and longevity, making cleaning simpler and more effective for you.
Congratulations on choosing the Dyson DC17, a powerful and innovative vacuum cleaner designed to revolutionize your cleaning experience. This machine represents a significant advancement in floor care technology, offering superior suction and filtration compared to traditional vacuums. The DC17 isn’t just a cleaning appliance; it’s an investment in a cleaner, healthier home environment.

This model utilizes Dyson’s patented Radial Root Cyclone™ technology, which is central to its exceptional performance. Unlike conventional vacuums that rely on bags, the DC17 separates dust and dirt using centrifugal forces, preventing loss of suction as the bin fills. This ensures consistent cleaning power from start to finish.

This owner’s manual is your comprehensive guide to understanding and maximizing the potential of your Dyson DC17. Within these pages, you’ll find detailed instructions on assembly, operation, maintenance, and troubleshooting. We encourage you to read this manual thoroughly before using your vacuum to ensure safe and effective operation. Familiarizing yourself with its features will unlock its full cleaning capabilities and prolong its lifespan.
Unboxing and Component Identification
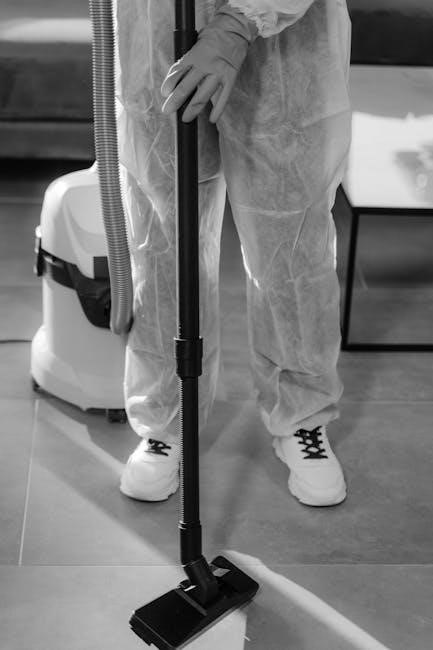
Carefully unpack your Dyson DC17 and verify that all components are present. Your package should include the main body of the vacuum, the wand, the bin assembly, a combination tool, a crevice tool, a motorized brush head, and potentially a mini-turbine head depending on the model variant. Retain the original packaging for potential future transport or storage.
Key Components: The main body houses the motor and cyclone system. The wand connects to the body for extended reach. The bin assembly collects dust and debris – ensure it’s securely attached. The combination tool features a brush and a nozzle for versatile cleaning. The crevice tool targets narrow spaces. The motorized brush head agitates carpets for deep cleaning.
Inspect each component for any signs of damage incurred during shipping. If any parts are missing or damaged, contact Dyson customer support immediately. Familiarize yourself with the location of the power button, the suction control settings, and the bin release mechanism. Proper identification of these parts will streamline the assembly process and ensure optimal performance from the start.
Assembly Instructions
Begin by securely attaching the bin assembly to the main body of the Dyson DC17. Ensure it clicks firmly into place; a proper seal is crucial for maintaining suction. Next, connect the wand to the back of the main body. Again, listen for a distinct click to confirm a secure connection. The wand should feel stable and not wobble.
To utilize the floor tools, attach your desired head – either the motorized brush head for carpets or the smooth direct-drive cleaner head for hard floors – to the end of the wand. Select the appropriate tool based on your floor type for optimal cleaning performance. For above-floor cleaning, simply attach the combination or crevice tool directly to the wand, bypassing the main body if desired.
Double-check all connections before operation. A loose connection can significantly reduce suction power. If any component feels insecure, disconnect and reattach it, ensuring a firm click. Refer to the diagrams in this manual if you encounter any difficulties. Proper assembly is vital for the DC17’s effectiveness.
Understanding the DC17’s Technology: Radial Root Cyclone™
The Dyson DC17 utilizes Radial Root Cyclone™ technology, a revolutionary system designed to prevent loss of suction. Unlike traditional vacuum cleaners that rely on a bag or filter which can clog and reduce airflow, the DC17 employs powerful centrifugal forces. These forces spin dust and dirt out of the airflow, directing them into the dust bin.
This innovative design features fifteen high-speed cyclones arranged radially within the machine. Each cyclone creates a miniature vortex, effectively separating microscopic dust particles from the air; This separation process maintains consistent suction power, even as the dust bin fills. The Radial Root Cyclone™ technology ensures that even fine dust doesn’t escape back into the air, providing a cleaner exhaust.
By eliminating the reliance on conventional filtration, the DC17 minimizes the need for frequent filter cleaning or replacement. This technology is at the heart of the DC17’s superior cleaning performance and efficiency, delivering powerful and consistent suction throughout your cleaning routine.
Operating Instructions: Basic Use
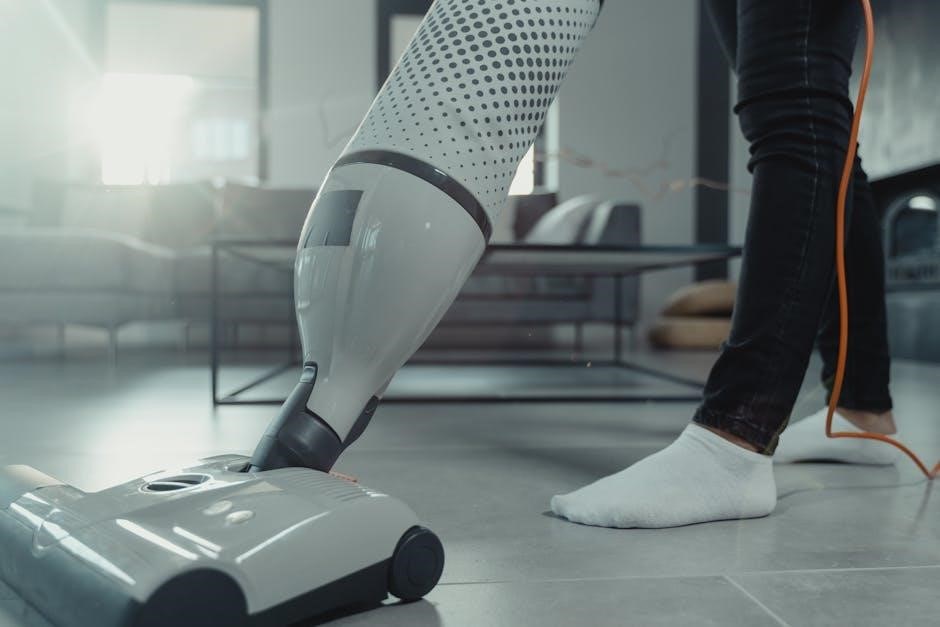
Before first use, ensure all components are correctly assembled as detailed in the ‘Assembly Instructions’ section. Position the Dyson DC17 on a stable surface and connect the desired floor tool or attachment. Extend the wand fully for maximum reach, locking it securely into place.
To power on the vacuum, press the power button located on the machine body. Begin cleaning by gliding the floor tool smoothly across the surface. For carpets, use a slower, deliberate motion to agitate and lift embedded dirt. On hard floors, a faster pace is generally sufficient.
The DC17 is designed for versatile cleaning. Utilize the telescopic wand to reach high areas and under furniture. Regularly check the floor tool for obstructions and ensure the brush bar is rotating freely. Always switch off and unplug the machine before inspecting or clearing any blockages. Remember to adjust the suction power as needed for different surfaces – see ‘Adjusting Suction Power’ for details.
Adjusting Suction Power
The Dyson DC17 offers variable suction control, allowing you to optimize cleaning performance for different surfaces and tasks. To adjust the suction, locate the suction control slider on the machine body – typically near the power button or wand attachment point.
Slide the control upwards to increase suction power, ideal for thick carpets and stubborn dirt. This setting maximizes airflow and agitation for deep cleaning. Conversely, sliding the control downwards reduces suction, suitable for delicate fabrics, curtains, or lightweight debris on hard floors.
Lower suction also minimizes strain on the motor during prolonged use and can prevent the machine from feeling ‘stuck’ on smooth surfaces. Experiment with different settings to find the optimal balance between cleaning power and maneuverability. Remember to return to maximum suction for carpets to ensure thorough dirt removal. Regularly assess the dust bin fill level when using higher suction settings, as it may fill more quickly.
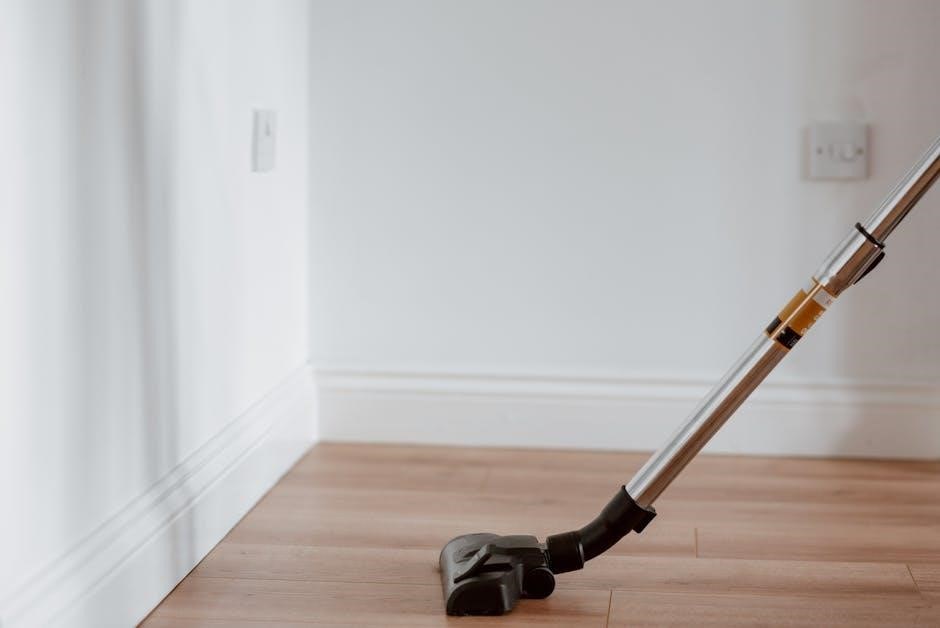
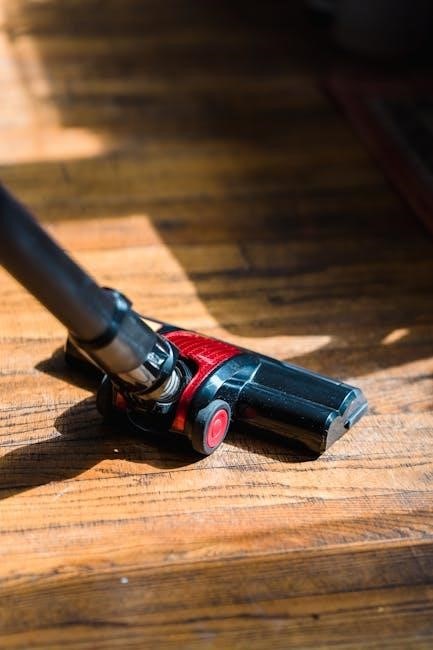
Using Attachments: Floor Tools
Your Dyson DC17 comes equipped with several floor tools designed for versatile cleaning. The primary floor tool is the combination floor nozzle, suitable for both hard floors and carpets. It features a rotating brush bar that agitates carpet fibers to loosen embedded dirt and debris.
For hard floors, ensure the brush bar is switched off (if your model has this feature) to prevent scattering debris and avoid scratching delicate surfaces. A separate hard floor tool may be included, offering a softer brush strip for gentle cleaning.
When transitioning between floor types, the floor tool automatically adjusts to maintain optimal suction. For particularly stubborn dirt on hard floors, briefly increase suction power using the machine’s suction control. Regularly inspect the brush bar for tangled hair or fibers, as this can reduce cleaning effectiveness. Proper tool selection and maintenance will maximize your DC17’s cleaning performance on all floor surfaces.
Using Attachments: Crevice Tool & Combination Tool
The Dyson DC17’s versatility extends beyond floor cleaning with its included attachments. The crevice tool is ideal for reaching tight spaces – along edges, between cushions, and in car interiors. Its narrow nozzle delivers concentrated suction to dislodge dust and debris from hard-to-reach areas.
The combination tool serves a dual purpose. It features a brush head that can be deployed for dusting delicate surfaces like furniture, lampshades, and bookshelves. Retract the brush to reveal a wider opening, perfect for upholstery and car interiors.
To use these attachments, simply connect them to the wand or directly to the main body of the DC17. Ensure a secure fit to maintain optimal suction. Regularly check the attachments for blockages and clean as needed. These tools significantly expand the DC17’s cleaning capabilities, making it a truly whole-home cleaning solution.
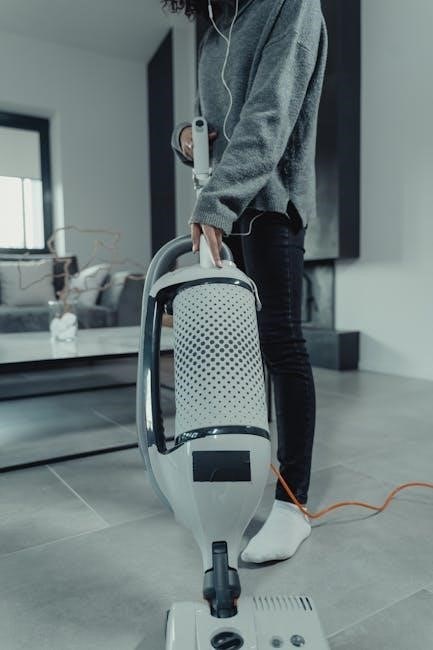
Emptying the Dust Bin
Regularly emptying the dust bin is crucial for maintaining your Dyson DC17’s suction power and performance. A full bin restricts airflow, reducing cleaning effectiveness. To empty, detach the bin from the machine by pressing the release button – typically located on the top or side.
Hold the bin over a trash receptacle and press the red bin emptying lever. This opens the bottom of the bin, allowing dust and debris to fall out. For stubborn debris, you may need to gently tap the bin. Avoid opening the bin indoors to prevent dust dispersal.
After emptying, reattach the bin securely to the machine, ensuring it clicks into place. Periodically wash the dust bin with cold water; allow it to dry completely before reattaching. Never use detergents or immerse the cyclone assembly in water. Proper bin maintenance ensures optimal cleaning performance.
Filter Maintenance: Washing and Replacement
Maintaining clean filters is vital for your Dyson DC17’s performance, ensuring consistent suction and expelling clean air. The DC17 typically features a pre-motor filter and potentially a post-motor filter. Wash the pre-motor filter regularly – ideally every month, or more frequently if you have pets or allergies.
Remove the filter (consult your manual for location) and rinse it under cold water until the water runs clear. Gently squeeze out excess water and allow it to air dry completely – at least 24 hours – before reinstalling. Never use detergents.
Post-motor filters, if present, generally require less frequent washing. Replace filters annually, or when you notice a decrease in suction or a musty odor. Using damaged or unwashed filters can harm the motor. Replacement filters are readily available from Dyson or authorized retailers. Consistent filter care extends your DC17’s lifespan.
Troubleshooting Common Issues: Blockages
Reduced suction in your Dyson DC17 often indicates a blockage. First, switch off and unplug the machine for safety. Begin by checking the wand, hose, and floor tool for obstructions – anything from large debris to smaller items can accumulate. Detach these components and visually inspect them.
Next, examine the cyclone assembly. Remove the bin and inspect the cyclone for blockages. A flexible tool can help dislodge stubborn debris. Finally, check the brush bar. Remove it and clear any tangled hair, string, or fibers.
Important: Ensure all parts are securely reconnected after clearing blockages. If the blockage persists, consult the full troubleshooting section of your owner’s manual or Dyson’s support website. Regular checks prevent performance decline and potential motor strain. Ignoring blockages can lead to overheating and damage.
Troubleshooting Common Issues: Loss of Suction
Experiencing a loss of suction with your Dyson DC17? Several factors could be at play. Initially, verify the dust bin isn’t full – an overfilled bin drastically reduces airflow. Empty it and test the suction. Next, inspect the filters. Dirty filters restrict airflow, diminishing cleaning power. Wash or replace them as needed, following the maintenance guidelines.
Check for blockages throughout the machine – wand, hose, floor head, and cyclone. Even partial obstructions significantly impact suction. Ensure all connections are secure; loose connections create air leaks. Finally, examine the brush bar for proper rotation and debris buildup.
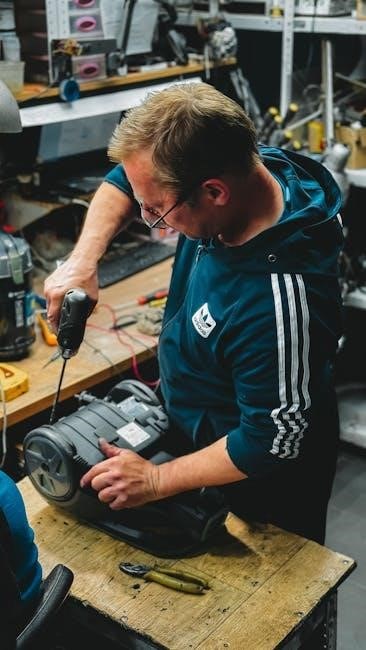
Replacing the Motor Brush Bar
Over time, the motor brush bar on your Dyson DC17 may wear out and require replacement. Before starting, always disconnect the machine from the power source. Locate the brush bar housing at the base of the cleaner head. Typically, several screws secure the housing; remove these carefully.
Once the housing is removed, you’ll access the brush bar. Note its orientation before removal for correct re-installation. Gently detach the old brush bar, paying attention to any connecting clips or end caps. Align the new brush bar, ensuring proper direction of rotation.
Securely reattach the brush bar housing, tightening all screws firmly. Test the brush bar’s operation before resuming cleaning. Caution: Using an incorrect brush bar can damage your Dyson DC17. Refer to the parts diagram in your owner’s manual to ensure compatibility. Regular inspection and timely replacement maintain optimal cleaning performance.
Dyson DC17 Safety Precautions
Important Safety Instructions: Always read all instructions before using your Dyson DC17. This appliance is for indoor use only. Do not use it to pick up flammable liquids, gases, or sharp objects. Keep hair, loose clothing, fingers, and all body parts away from moving parts.
Never operate the Dyson DC17 with a damaged cord or plug. If the cord is damaged, it must be replaced by Dyson or a qualified technician; Do not use extensions cords. Ensure the filters are properly installed before use; operating without filters can damage the motor.
Unplug the machine before emptying the dust bin or performing any maintenance. Do not modify the Dyson DC17 in any way. Use only Dyson-approved accessories. Warning: Misuse can result in electric shock or injury. Keep this manual for future reference and follow all safety guidelines diligently.
Warranty Information and Support
Dyson DC17 Warranty: Your Dyson DC17 vacuum cleaner is warranted against defects in material and workmanship for a period of two years from the date of purchase. This warranty covers parts and labor necessary to repair or replace a defective unit. Damage caused by misuse, abuse, neglect, or unauthorized repair is not covered.
To obtain warranty service, contact Dyson customer support with your proof of purchase. Do not attempt to repair the unit yourself, as this will void the warranty. Dyson offers a comprehensive online support portal with FAQs, troubleshooting guides, and video tutorials.
Contacting Dyson Support: Visit the Dyson website at [insert Dyson website address here] or call their toll-free number at [insert Dyson phone number here]. Dyson also provides a network of authorized service centers for convenient repairs. Retain your purchase receipt as proof of date for any warranty claims.